Headless WordPress: How to Build Separate Frontend Through ReactJS and REST API?

The concept of “headless” architecture is changing the way developers build websites, offering newfound flexibility and efficiency. Traditionally, WordPress is a tightly integrated system where the backend and frontend operate together in a cohesive framework. This approach is incredibly efficient for many projects, especially when using built-in WordPress themes and plugins to power a site. However, as web development evolves and sites demand more dynamic, interactive elements, developers increasingly turn to “headless” solutions. This shift involves decoupling the frontend from the backend, allowing each to operate independently. In this context, WordPress handles the backend content management, while a modern JavaScript framework—likeBuild ReactJS—takes charge of the frontend. The result is an innovative, flexible system that can meet the needs of today’s fast-paced web landscape.
Default WordPress Architecture
In a traditional WordPress setup, the backend and frontend are tightly coupled, meaning content management and display are integrated. This setup is beneficial for many users due to its straightforward, all-in-one functionality. However, the default architecture has some limitations:
- Limited Customization: Content rendering depends heavily on WordPress themes and plugins, which restricts the flexibility to create unique, interactive user interfaces.
- Performance Issues: Since the backend and frontend are connected, loading times can be slower, particularly for content-heavy sites or those using multiple plugins.
- Security Concerns: Being a widely used platform, WordPress is a common target for cyber threats, which can be difficult to counter with traditional themes and plugins.
These limitations have led to the adoption of more flexible solutions, such as headless WordPress, which decouples the backend from the frontend.
Headless WordPress Architecture
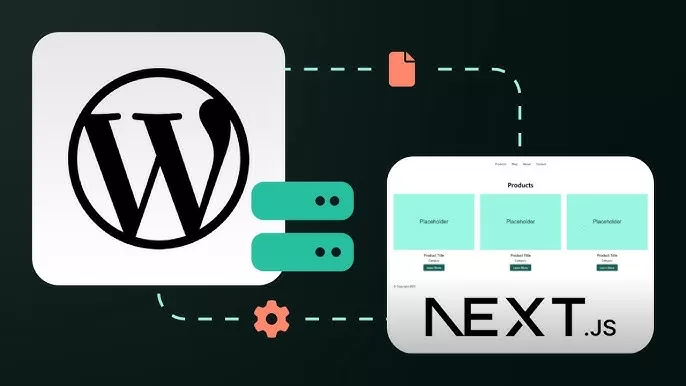
Headless WordPress separates the frontend display from the backend CMS, allowing developers to choose a different technology for the frontend. In a headless setup:
- WordPress as a CMS: WordPress is used purely as a content management system. Users can still create, organize, and manage content via the WordPress dashboard.
- Frontend Independence: Instead of relying on WordPress themes, the frontend can be built using a modern JavaScript framework, such as ReactJS.
- REST API Bridge: Content from WordPress is made accessible through the REST API, which enables the frontend to retrieve data independently. This API provides endpoints for various types of content, such as posts, pages, and custom fields.
With this decoupling, WordPress operates as a “content hub,” providing data to a fully customizable frontend interface.
Why Choose ReactJS Frontend for Headless WordPress
ReactJS, developed by Meta, is one of the most popular JavaScript libraries for building user interfaces, making it an ideal choice for headless WordPress. Here’s why:
- Virtual DOM for Fast Rendering: React’s virtual DOM optimizes page updates by refreshing only the components that have changed, resulting in fast, responsive interactions.
- Component-Based Architecture: React organizes the frontend into reusable, self-contained components. This modularity enhances code consistency, reusability, and ease of maintenance.
- Customizable User Interface: React provides complete control over the UI, enabling developers to craft unique, interactive experiences that go beyond the limitations of WordPress themes.
- Expansive Ecosystem: React has a rich library ecosystem, allowing for the seamless addition of animations, forms, data visualizations, and state management (Redux) to enhance user experience.
- SEO Benefits: When paired with Next.js, React supports server-side rendering (SSR), which improves load times and SEO—both crucial for business websites and content-heavy platforms.
React’s flexibility and performance make it well-suited to handle the demands of modern, headless web applications.
Connecting WordPress and ReactJS through the REST API
The WordPress REST API serves as a bridge, facilitating the transfer of content from the WordPress backend to the ReactJS frontend. Here’s a step-by-step look at how to set this up in practice:
Step 1: Activate the REST API
WordPress has a REST API enabled by default, but plugins can extend its capabilities. Ensure your WordPress installation is updated to make full use of the REST API features. You can access it via URLs like https://yourwebsite.com/wp-json/wp/v2/posts to retrieve posts.
Step 2: Setting Up a ReactJS App
- Start by creating a ReactJS project if you haven’t already. You can use Create React App for this:
npx create-react-app your-app. - Configure the frontend to communicate with the WordPress API using
fetchoraxiosfor HTTP requests. For example, to fetch posts, you could use:
import axios from ‘axios’;
const fetchPosts = async () => {
try {
const response = await axios.get(‘https://yourwebsite.com/wp-json/wp/v2/posts’);
console.log(response.data);
} catch (error) {
console.error(‘Error fetching posts:’, error);
}
};
- Call
fetchPostswithin a React component, such as in auseEffecthook.
Step 3: Display Content in React
- Store the data from WordPress in your React state. For instance, use
useStateto hold the posts:
const [posts, setPosts] = useState([]);
useEffect(() => {
const fetchPosts = async () => {
const response = await axios.get(‘https://yourwebsite.com/wp-json/wp/v2/posts’);
setPosts(response.data);
};
fetchPosts();
}, [] );
- Map over
poststo display each post’s title and content dynamically within React components:
return (
<div>
{posts.map(post => (
<div key={post.id}>
<h2>{post.title.rendered}</h2>
<div dangerouslySetInnerHTML={{ __html: post.content.rendered }} />
</div>
))}
</div>
);
Step 4: Secure the REST API
- For restricted data or actions requiring authentication, use plugins like JWT Authentication for WP REST API to add security layers.
- For authenticated requests, include the JWT token in headers:
axios.get(‘https://yourwebsite.com/wp-json/wp/v2/posts’, {
headers: { Authorization: `Bearer YOUR_JWT_TOKEN` },
});
Step 5: Optimize for SEO and Performance:
- Consider using a framework like Next.js to add server-side rendering (SSR) to your React app for improved SEO. With SSR, content loads faster and can be crawled more easily by search engines.
- Implement lazy loading and code-splitting in React for optimized performance, especially if dealing with large datasets.
Why ReactJS is Best for Headless WordPress
Headless WordPress with a ReactJS frontend offers several advantages that enhance performance, security, and customization. Here are some compelling reasons why ReactJS is the best choice:
- Improved Site Performance: React’s virtual DOM and component-based design enable faster page loads and smooth interactions, improving the user experience and boosting SEO.
- Enhanced Scalability: React is incredibly scalable, making it suitable for complex applications and large-scale projects. It integrates well with other JavaScript tools, providing flexibility for advanced features.
- Streamlined Development: The decoupled architecture allows frontend and backend teams to work independently. Developers can experiment with new technologies on the frontend without impacting the WordPress backend.
- Multi-Channel Content Delivery: A headless setup allows the same WordPress backend to deliver content to various platforms, such as mobile apps, IoT devices, or even digital kiosks, without needing multiple CMS installations.
- Future-Proof Architecture: By combining WordPress’s robust CMS capabilities with React’s flexibility, developers achieve a highly adaptable, future-ready solution.
The combination of WordPress and ReactJS in a headless configuration enables businesses and developers to create powerful, responsive, and engaging digital experiences that are ready for the demands of today’s web.
PostCategories
Categories
- Digital Marketing (6)
- Everything Else (7)
- SEO (3)
- UI/UX (3)
- Web Development (5)
- WordPress (10)
AboutAuthor
 Hi I’m Rehan! I’m a highly experienced full stack web developer and web optimizer from India. I’m specialize in custom WordPress theme development and plugin development. I love to share my knowledge and help the world to build a better web.


No comment yet, add your voice below!